Car Detailing How-To
Bridgestone Tire Clinic | Drivers' Essential
Chances are, your car isn’t as clean as it could – or should – be. You’ve taken it to the carwash once in a while, but you can still see paint swirls and grime stains. If this sounds familiar, your car could benefit greatly from a thorough detailing – right at home!
You should only need to perform the below steps once or twice a year depending on how often your car sees rain and where it’s parked. However, you should wash your car once every fortnight or so, and apply a coat of wax once every three months to keep it protected and looking clean.
STEP ONE | Clean those wheels
You will need:
• A Bottle of Wheel Cleaner
• A Brush

Wheels can be frustrating and difficult to clean, but with the right tools and techniques, it’s not so bad. A bottle of wheel cleaner can be obtained online for just over $10, and a brush can be repurposed from your cleaning cabinet.
Spray on the wheel cleaner and wait 3 to 5 minutes, then give it a good brush to loosen dirt. Finish it off by rinsing them with water – you might need to repeat the above steps until they’re sparkly clean. Remember to always use a designated bucket to rinse your wheel brush, and don’t let the wheel cleaner dry on the wheels.
STEP TWO | Wash and dry
You will need:
• Car Shampoo
• Two Buckets
• A Hose
• A Wash Mitt
• A Microfibre Cloth

Before you start, make sure you’re using a car shampoo. Washing your car with Mama Lemon dishwashing liquid will be too abrasive and can do more harm than good. Find a spot in the shade, and check that the paint surface isn’t too warm. A warm or hot paint surface will speed up water evaporation, leaving behind unwanted contaminants.
Begin by mixing the car shampoo with water in one washing bucket, and fill the other with just water. Then, rinse your car with water from the hose, soak your wash mitt in the shampoo bucket, and begin washing. Use straight-line strokes to remove surface contaminants, and spray the surface with water from your hose once a panel is complete. Before moving to the next section, rinse the wash mitt in the water-only bucket, using your hand to loosen and remove any dirt particles. Once the entire car’s washed, finish it off by wiping the paint dry with your microfibre cloth.
STEP THREE | Remove contaminants
You will need:
• A Clay Bar
• A Bottle of Spray Wax
• A Microfibre Cloth.

The clay bar has been one of the most important advancements in detailing technology over the years – it’s incredibly effective at removing any residual surface contaminants after washing. This results in a cleaner, smoother surface, increasing the effectiveness of polish and wax. Before beginning, remember that there are two rules to using a clay bar: use a generous amount of spray wax, and always rely on friction instead of pressure.
Start by tearing off a small chunk of clay from the bar, and flattening it into a patty. Then, spray some wax directly on one section (a quarter to half of a panel) and on the clay patty. Use straight-line strokes to move the clay back and forth over the surface, and repeat until the surface feels smooth. Once clean, there should be no more snagging as the clay moves. Once you’re satisfied with that section, use the microfibre cloth to wipe dry and start on the next section.
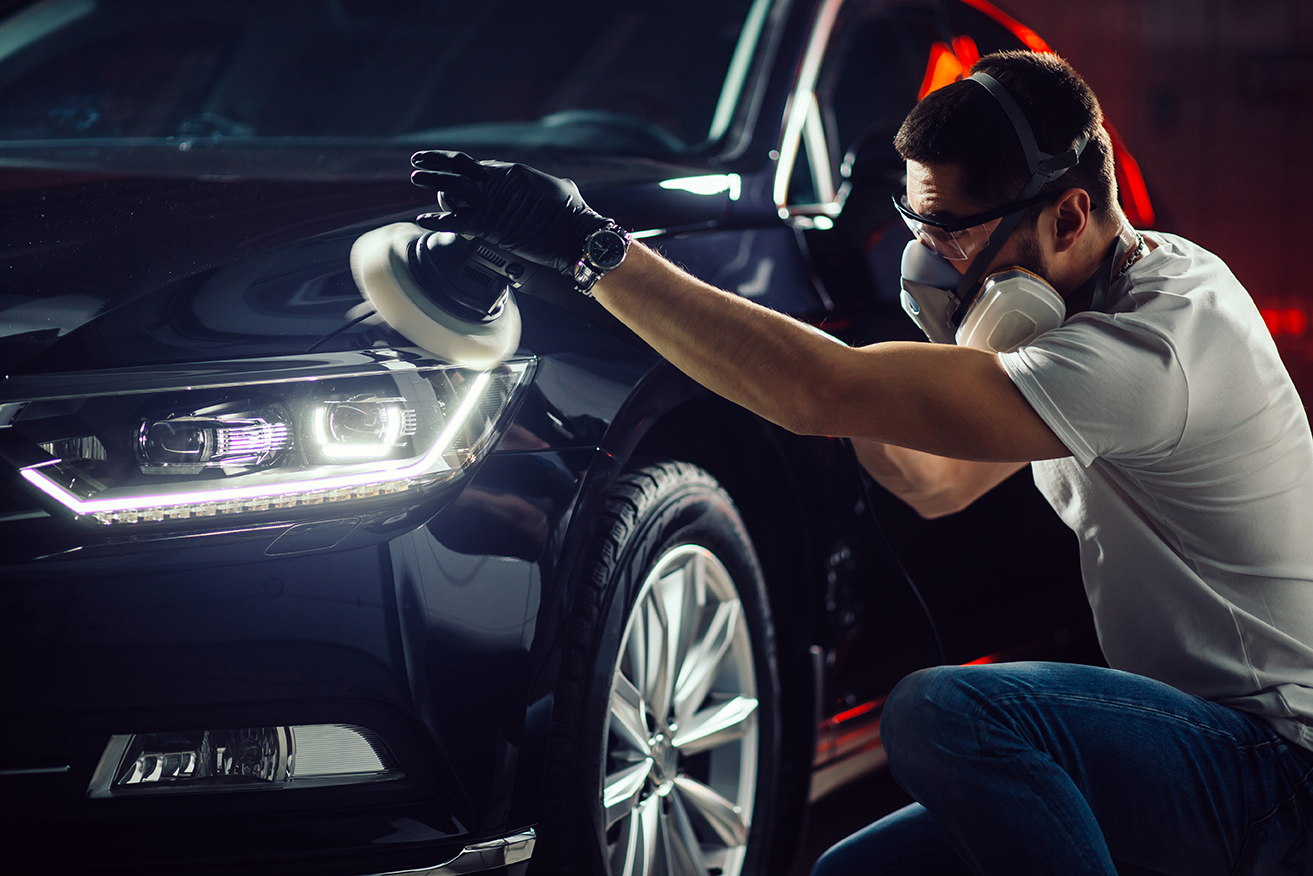
STEP FOUR | Polish to perfection
You will need:
• Masking Tape
• A Bottle of One-Step Polishing Compound
• An Orbital Polisher
• Polish Applicator Pads
• A microfibre cloth.

The goal of polishing is to remove a thin layer of clear coat by buffing an abrasive compound onto your car’s paint. This process makes small scratches and swirls disappear, leaving you with a level surface to work with. If your paint is in relatively good condition, you can use this mild one-step polishing compound, which will remove light swirls and scratches.
When polishing, you should work in sections. It can be tempting to rush ahead, but the process requires attention to detail so you don’t ruin your paint. First, protect any delicate areas like rubber moulding with masking tape. Then, center an applicator pad on your orbital polisher. Next, add some polishing compound to your pad, and at a low speed, lightly spread the polishing compound around the working section. Then, adjust your orbital polisher to a higher speed (generally there’s a recommended speed in the manual, but if not, between 3 and 5 is a safe bet).
Finally, work in the polish using back-and-forth strokes creating a crosshatch pattern. Continue until the layer of compound is thin and evenly applied, and wipe clean with a microfiber cloth. Use the same process for each section until the whole car’s complete.
STEP FIVE | Wax on, wax off
You will need:
• Synthetic Wax
• Hand-wax Applicator Pads
• A Microfibre Cloth.

So you’ve chosen your wax, and now you need to apply it. You can either do it by hand with a hand-wax applicator pad, or using an orbital polisher on a low to medium setting. Start off by adding a small amount of wax to the applicator pad. Then, using straight-line strokes and light pressure, rub the wax onto the surface, working on 2 to 3 panels at a time.
Once you notice that an even, thin layer of wax covers the section, it’s good to go. You can now begin to remove the wax with a microfibre cloth before it dries completely. Do note that synthetic wax usually needs time to fully cure – between one hour and a full day. Look for the exact time on your specific product, or just wait the full day just to be sure. If you don’t allow wax to cure, it’ll greatly reduce its effectiveness.
STEP SIX | The finishing touch
You will need:
• Tire Shine Gel
• A Gel Applicator Pad

You can always tell when a car’s just left a detailer: the whole thing shines, including its tires. While this look isn’t everyone’s cup of tea, it finishes off a car nicely and is easy to achieve. You might notice two different types of tire shine on the market – liquid, and gel – but tire shine gels are the go-to because they’re a lot more durable.
To apply it, simply put a small amount of tire shine gel on an applicator pad and rub it into your tires’ sidewall. To avoid “slinging” – that’s when gel spins onto your car’s paint as you drive – use as little gel as possible. With that, your tires should shine for weeks to come!